Learning to weld starts long before the first bead. Beginners need to pick a process that matches their projects, assemble protective equipment, prepare a work area that will not catch fire, and understand the handful of settings that decide whether a weld fuses or sits on top of the metal. This guide gathers what Miller Electric, OSHA and the ANSI Z49.1 safety standard say about those first steps. It is a planning and orientation guide: it explains what to prepare and what to look for, while the hands-on skill comes from practice under qualified instruction. This is buyer and orientation information, not an operating procedure: read the owner’s manual of the exact machine, follow ANSI Z49.1 and get hands-on instruction before striking an arc.
How do beginners learn to weld? The short answer
Short answer Beginners usually start with MIG welding, which Miller describes as fast, versatile and fairly easy to learn, on clean mild steel. Before welding, read the machine’s owner’s manual, wear a helmet with the correct lens shade plus gloves and flame-resistant clothing, clear combustibles from the area, and start from the settings chart inside the machine.
Miller’s beginner article sums up MIG as “fast, strong, versatile and fairly easy for most people to learn,” and its parameters article puts the first rule plainly: “No matter which welding machine you use, always start by reading the owner’s manual.” The rest of the first session is preparation: protective gear, a fire-safe space and clean metal.
- Process: MIG on clean steel for most garage beginners (Miller).
- Manual: read it first; it holds the machine’s safety and setup information (Miller).
- PPE: helmet, safety glasses, gloves, flame-resistant clothing, boots (Miller).
- Work area: combustibles relocated at least 35 feet where practicable (OSHA).
Pick a first process and a first machine
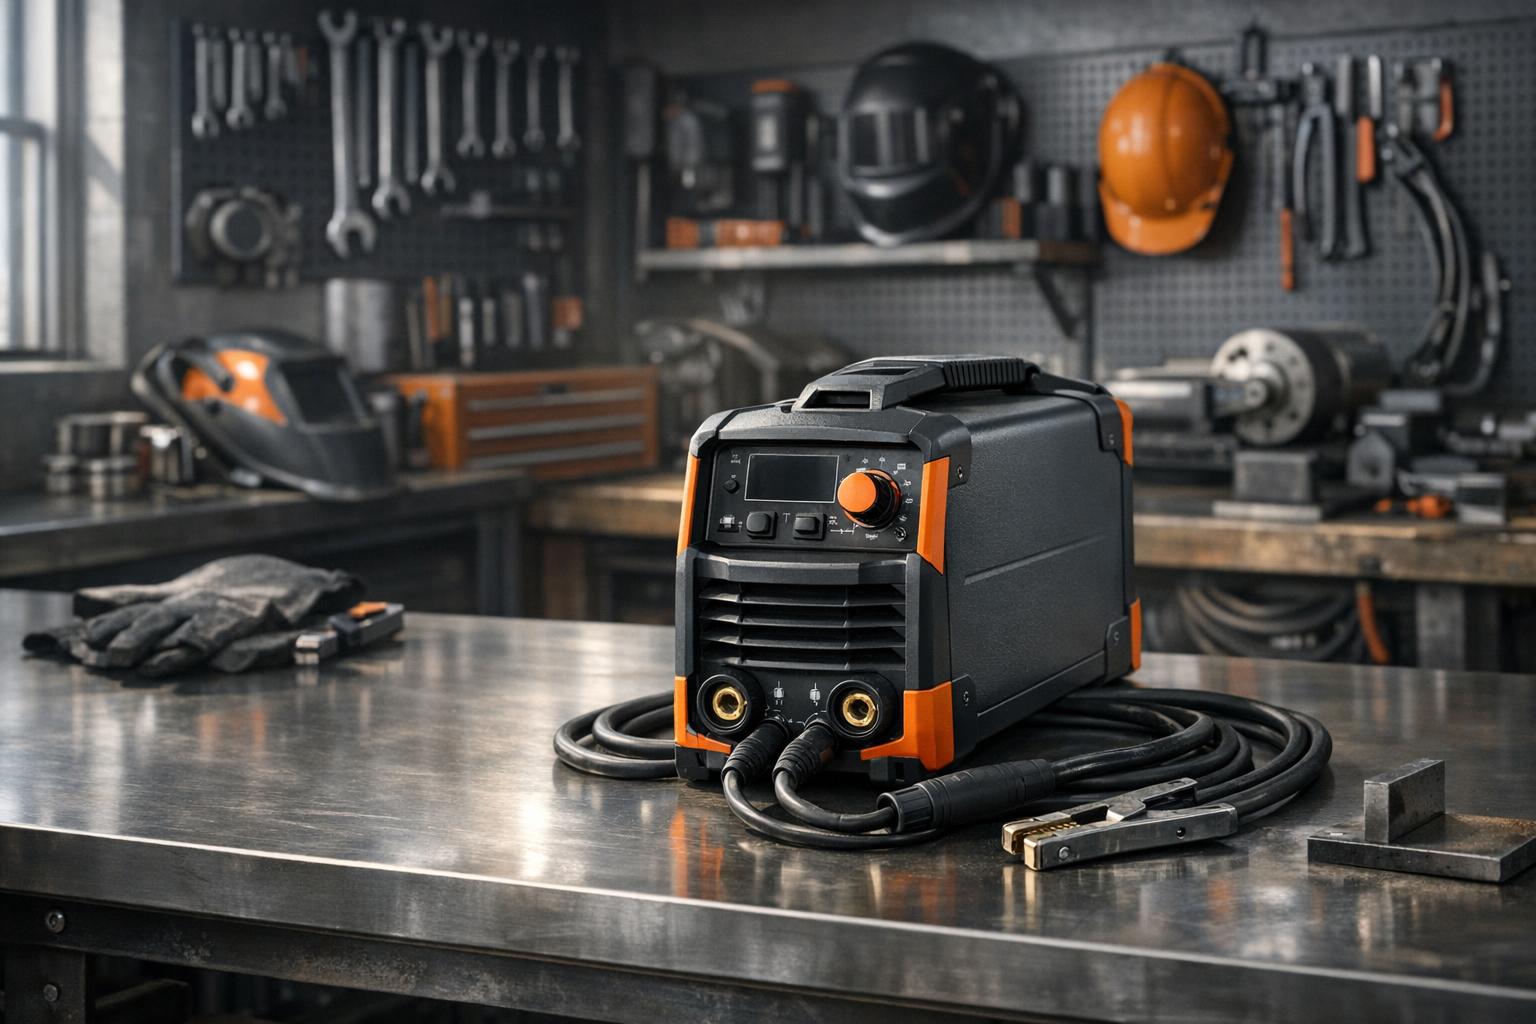
Miller’s first-welder guide recommends starting from your projects: identify the metals and thicknesses you will weld most often, then choose the process and machine. It describes MIG as easy to learn on thin or thick metals, stick as economical and good for outdoor or rusty work but harder to learn, and TIG as precise but more difficult and slower. Our guide to MIG, flux-core and spool gun modes explains the wire-feed options in more detail.
Budget beyond the machine. Miller reminds buyers to include “welding protection (helmet, gloves, jacket, etc.) as well as gas and consumables.” For electrical supply, many entry machines run on 120V, while higher output often requires 240V input; any new or upgraded 240V circuit should be assessed and installed by a licensed electrician. The 110V vs 220V guide explains how listings state input voltage.
- List projects first: metals, thicknesses and where you will weld (Miller).
- Price the extras: PPE, gas, wire and tips, not only the machine (Miller).
- Think ahead: more amperage or aluminum later may favor a multiprocess or 240V-capable machine (Miller).
If you expect to try several processes, compare complete machines on the best multiprocess welders ranking; if you only want wire welding, the MIG welder collection is a simpler starting point.
Protective equipment you need before the first arc
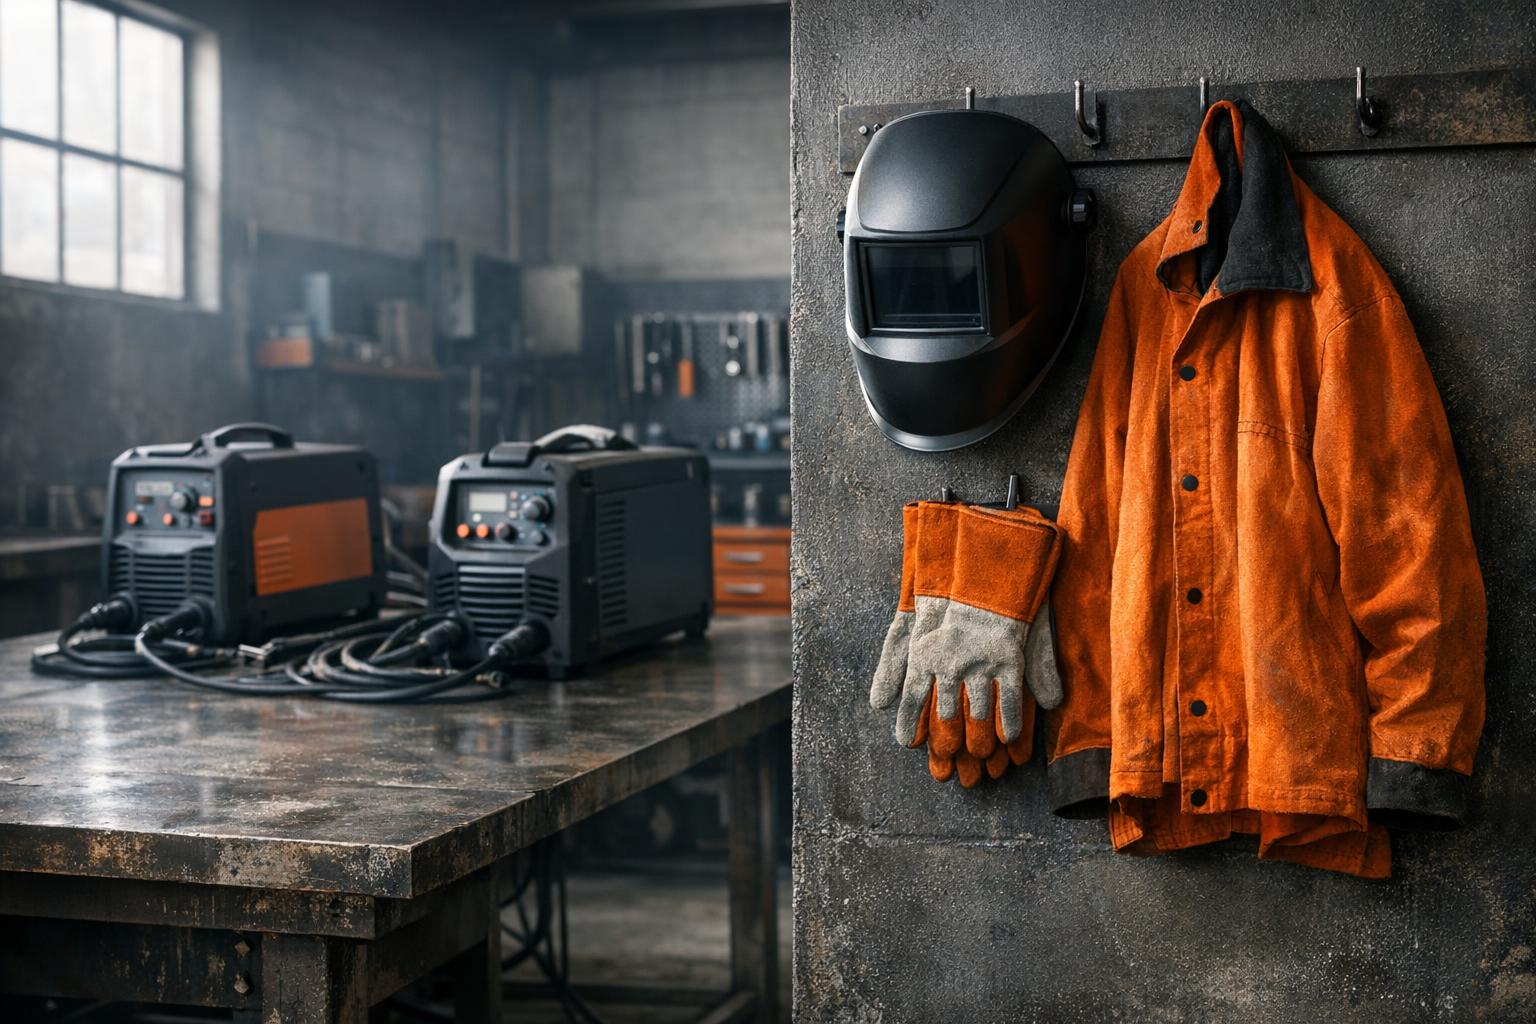
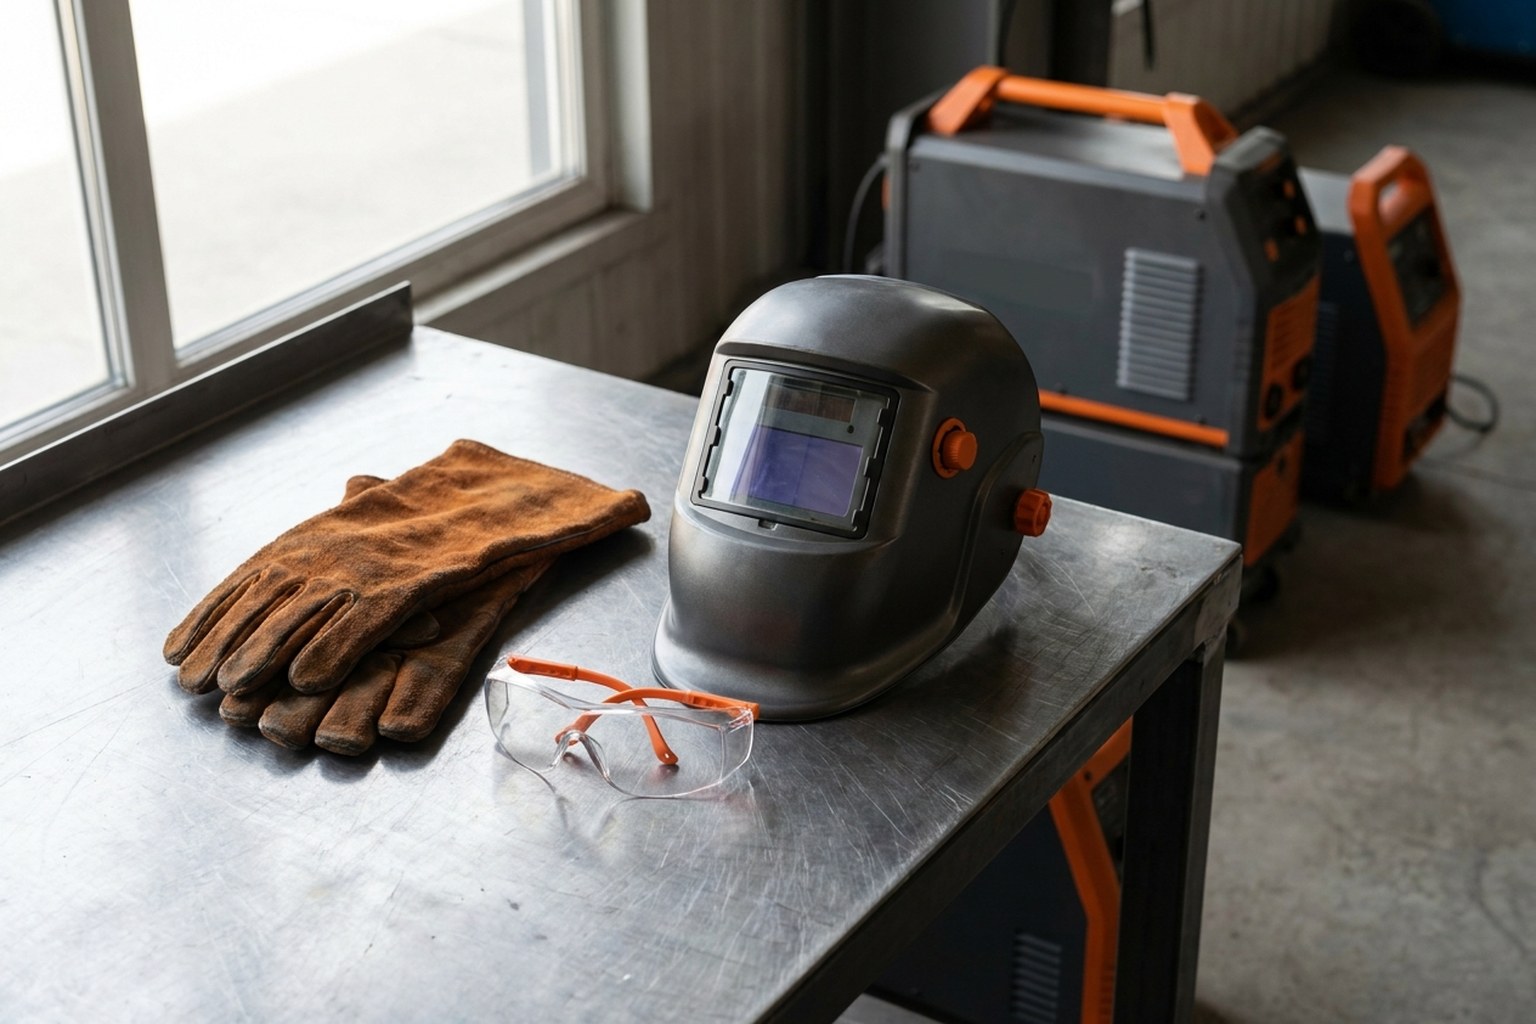
Miller’s fundamentals article lists the gear an operator should anticipate: a welding helmet (auto-darkening lenses reduce eye strain), safety glasses underneath the helmet, respiratory protection where fumes cannot be controlled otherwise, gloves that protect against burns, cuts and electric shock, flame-resistant clothing that covers all skin, and steel-toed boots, plus a fire extinguisher, fire-resistant blankets and a first aid kit.
| Item | Why | Source |
|---|---|---|
| Welding helmet with correct shade | Arc radiation; MIG at 60–160 A needs at least shade 10 | Miller; ANSI Z49.1 |
| Safety glasses under the helmet | UV, infrared and debris that get under the helmet | Miller |
| Welding gloves | Burns, cuts and electric shock | Miller |
| Flame-resistant clothing, covered skin | Sparks and hot metal | Miller |
| Steel-toed boots | Foot protection | Miller |
| Fire extinguisher ready | Fire prevention | Miller; OSHA |
| Ventilation or respirator | Fumes and gases | Miller; ANSI Z49.1 |
Shopping notes for helmets, gloves and jackets are in welding machine safety and PPE basics.
Prepare a fire-safe, ventilated work area
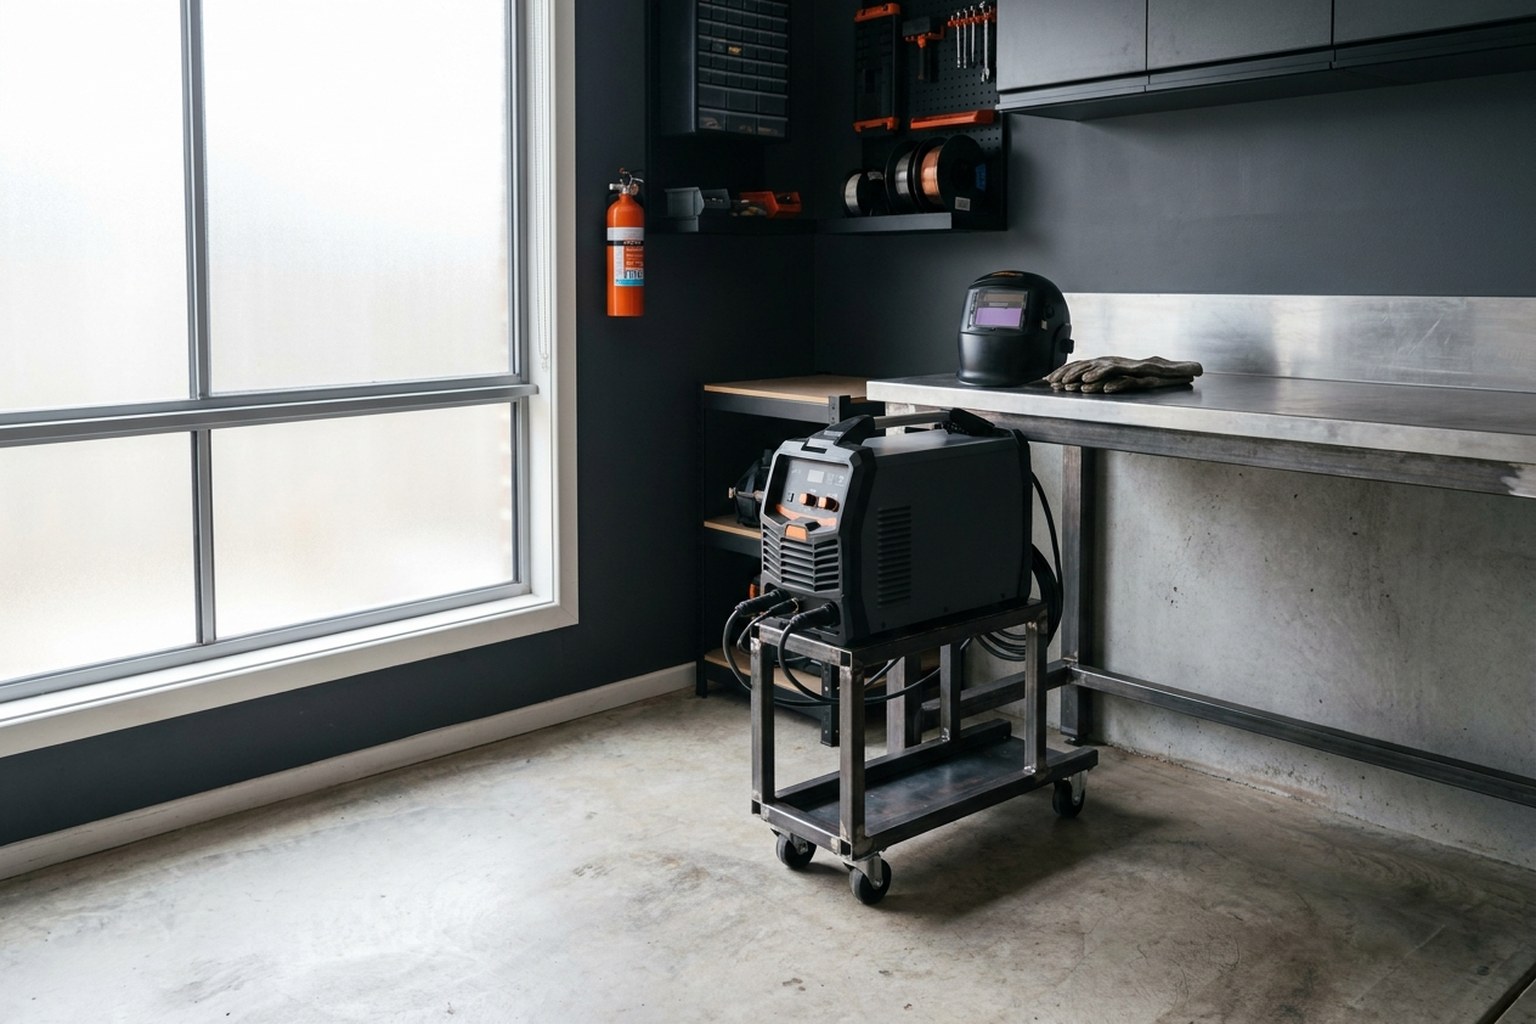
OSHA 29 CFR 1910.252 sets the baseline for fire prevention: “Where practicable, all combustibles shall be relocated at least 35 feet (10.7 m) from the work site,” and where that is impracticable they must be protected with flameproofed covers or shields. Where combustible materials are on the floor, “the floor shall be swept clean for a radius of 35 feet (10.7 m).” It also requires suitable fire extinguishing equipment to be “maintained in a state of readiness for instant use.”
For fumes, ANSI Z49.1 states that if natural ventilation is not sufficient to keep exposure below the referenced limits, mechanical ventilation or respiratory protection is needed. It also addresses electric shock: provisions shall be taken to protect personnel from electric shock when floors are wet.
- Clear 35 feet: or shield what cannot be moved (OSHA).
- Sweep the floor: no sawdust, paper or rags nearby (OSHA).
- Extinguisher in reach: ready for instant use (OSHA).
- Dry floor and dry gear: electric shock protection on wet floors (ANSI Z49.1).
- Air movement: mechanical ventilation if natural ventilation is not enough (ANSI Z49.1).
Understand the main MIG settings
Miller identifies two essential settings on a MIG welder: voltage and wire feed speed. It points beginners to the chart found inside most machines’ hinged access cover, which gives suggested settings by material type, thickness and wire diameter. Its rule of thumb for amperage is “each .001 inch of material thickness requires 1 amp of output.”
Illustrative example from Miller’s own text: .125-inch material × 1 amp per .001 inch = about 125 amps. That rule also explains why a machine’s output and duty cycle matter; read reading welder amperage and thickness claims and use the site’s duty cycle planner before trusting a listing’s thickness claim.
- Voltage: influences bead height and width (Miller).
- Wire feed speed: affects amperage and penetration; too high can cause burn-through (Miller).
- Stickout: about 3/8 inch is typical for MIG; too long reduces heat and gas coverage (Miller).
- Shielding gas: CO2 or argon/CO2 mixes are the common MIG choices (Miller).
Practice, inspect and keep learning
Miller describes a good MIG bead as slightly crowned, with the edges flowing into the base metal, consistent width and height, and no craters or voids. It also describes how faults look: too little voltage gives poor arc starts and a convex bead, traveling too fast gives a narrow convex bead with poor tie-in, and missing shielding gas shows up as porosity and pinholes.
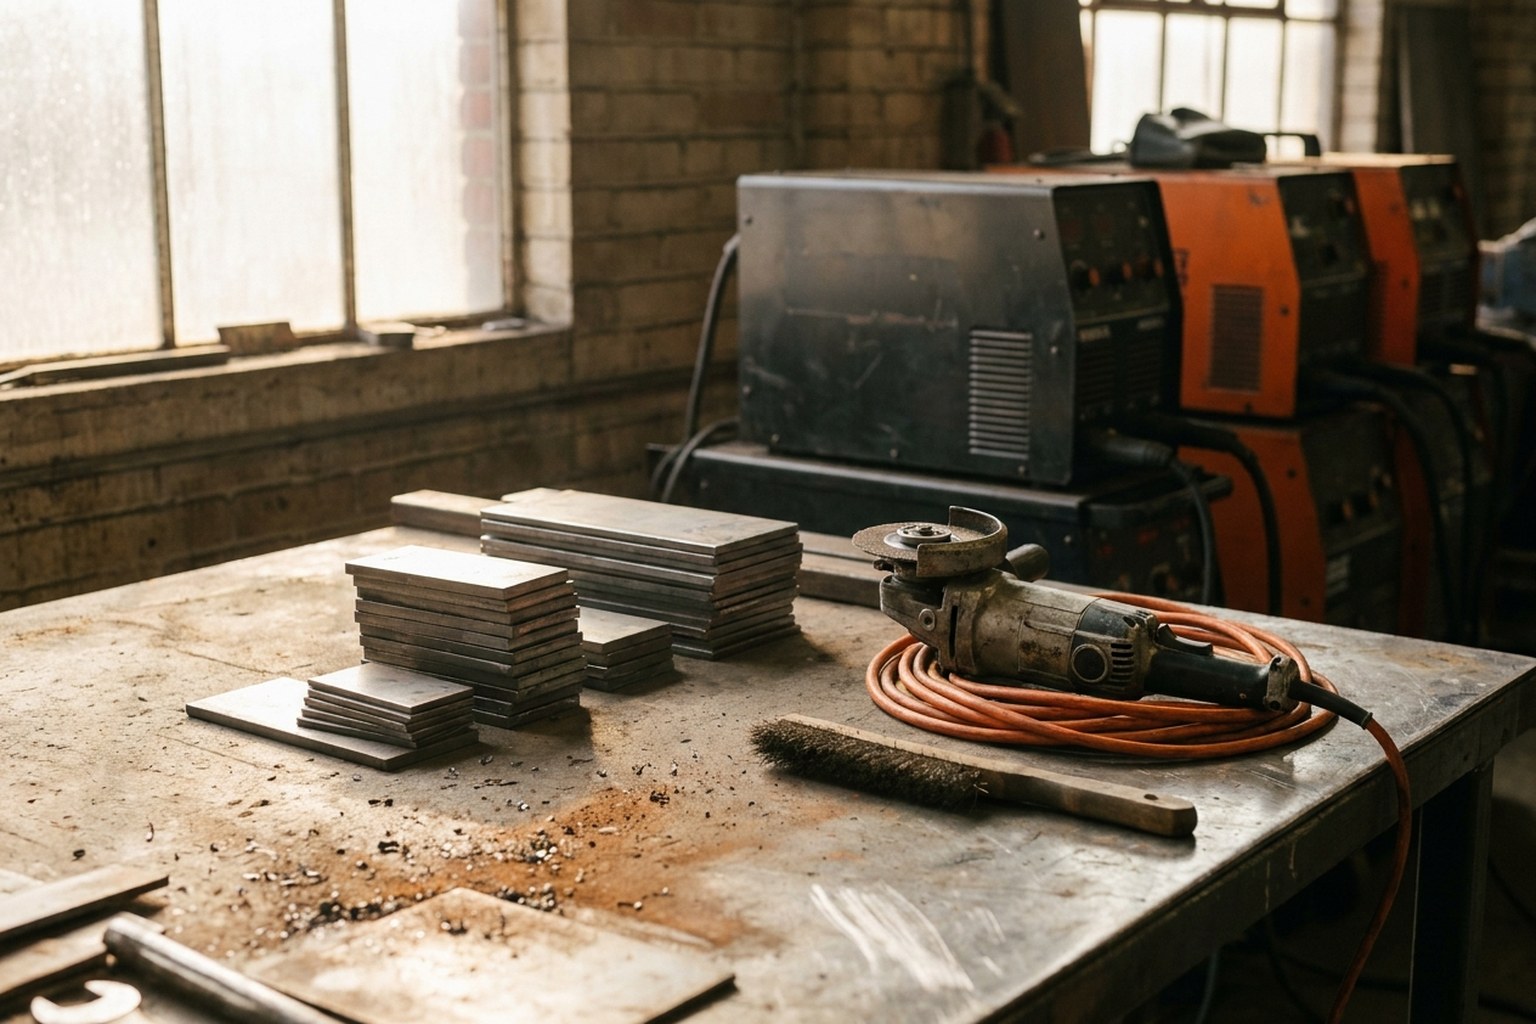
- Clean metal: remove grease and oil, then rust, paint or scale (Miller).
- Change one thing at a time: compare beads after each adjustment (Miller).
- Get instruction: classes and experienced welders shorten the learning curve.
- Stay within the duty cycle: see welder duty cycle explained.
Miller’s own closing advice is that good welds take a lot of practice. This is buyer and orientation information, not an operating procedure: read the owner’s manual of the exact machine, follow ANSI Z49.1 and get hands-on instruction before striking an arc.
Sources and further reading
- Miller Electric: MIG Welding Tips and Techniques for Beginners
- Miller Electric: MIG Welding — Setting the Correct Parameters
- Miller Electric: Buying Your First Welder — A Practical Guide for Do-It-Yourselfers
- Miller Electric: The Fundamentals of Welding — Process, Equipment and Applications
- OSHA 29 CFR 1910.252: Welding, Cutting and Brazing — General Requirements
- ANSI Z49.1:2021 Safety in Welding, Cutting, and Allied Processes (AWS free download, PDF)